An Arduino battery charger system is a simple and vital project, as we have an extensive range of rechargeable devices in our homes and workplaces.
Think of your mobile phone or laptop’s charging system.
The Arduino battery charger system is akin to the charger you use for these devices, only that you assemble this with simple electronic components.
There are numerous Arduino battery charger systems, but our focus today will be recharging NiMH batteries.
Table of Contents
- Why Use Rechargeable Batteries?
- What is a battery Charging rate?
- Components Required
- Arduino Battery Charger Circuit
- Monitoring the Battery Temperature
- Arduino Code
- Arduino Code Explanation
Why Use Rechargeable Batteries?
We have rechargeable batteries in all modern-day portable electronics.
Their primary upside is recyclability which is critical to environmental conservation.
The rule of thumb is that you must use the proper charging technique for the long life of your batteries.
Hence, creating an excellent charger is imperative, as we will in this guide.
Also noteworthy is that different types of batteries require other charging techniques depending on their chemical mode of operation.
As mentioned, we’ll look at the Nickel-Metal Hydride (NiMH) battery charging process today.
What is a battery Charging rate?
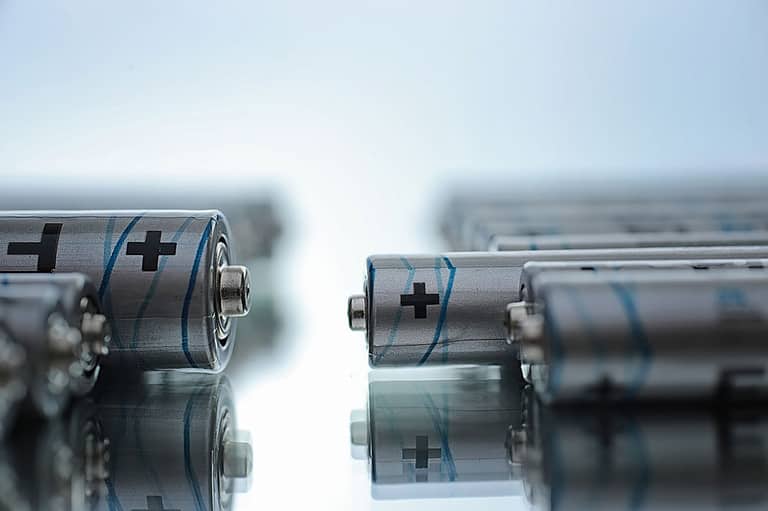
Two Charging Batteries.
The battery charging rate is dependent on the charging technique you use for the NiMH battery.
When describing a battery charging rate, we base it on the battery’s capacity.
For instance, take a battery with a 2500mAh capacity.
Say that you charge it with a 2500 mA current.
And this gives us a 1C charging rate or a charging rate of 1.
Next, take the same battery but now charge it with a 250mA current.
The battery’s charge rate will be C/10.
You also need to take some precautions when charging your battery, especially at a relatively high rate, as you risk overcharging it.
In our case above, charging the battery at a C/10 rate will take longer than at the 1C rate.
But, the slower charge rate is safe; hence it would be best if you go for it over the 1C rate.
Components Required
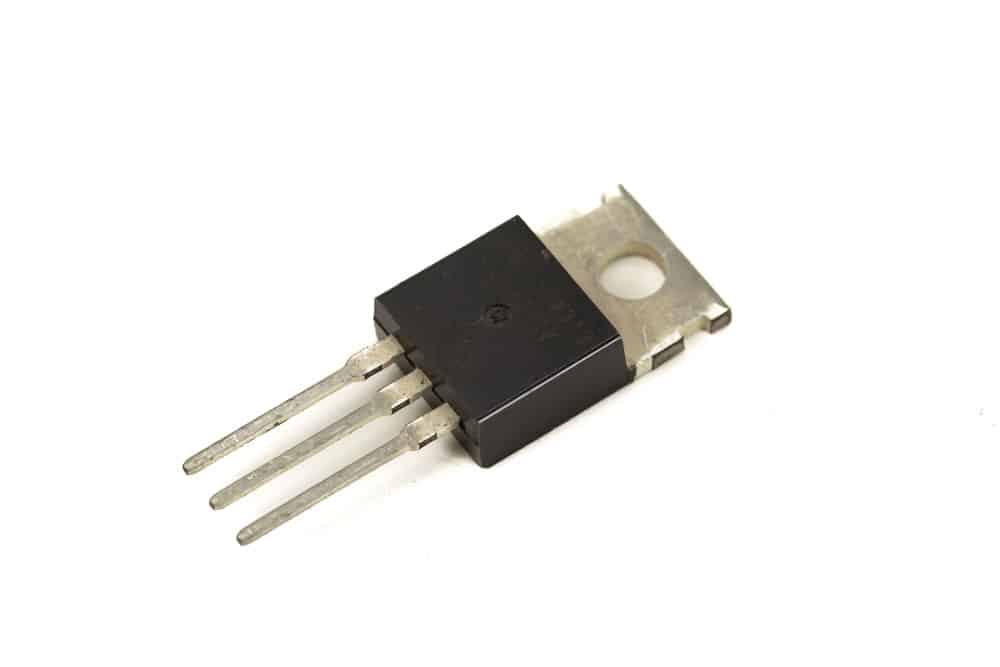
A MOSFET.
Lets now list the components you need to charge your NiMH battery:
- A TMP36 Temperature Sensor
- A 1 µF Capacitor
- Jumper Wires
- A NiMH AA Battery
- An Arduino Microcontroller
- A Prototyping Breadboard
- A 1 Mohm resistor
- An IRF510 MOSFET
- A 10 ohm Power Resistor with a 5W rating
- A 5V Regulated Power Supply
- One AA Battery Holder
Arduino Battery Charger Circuit
Set up the circuit as per the schematic below.
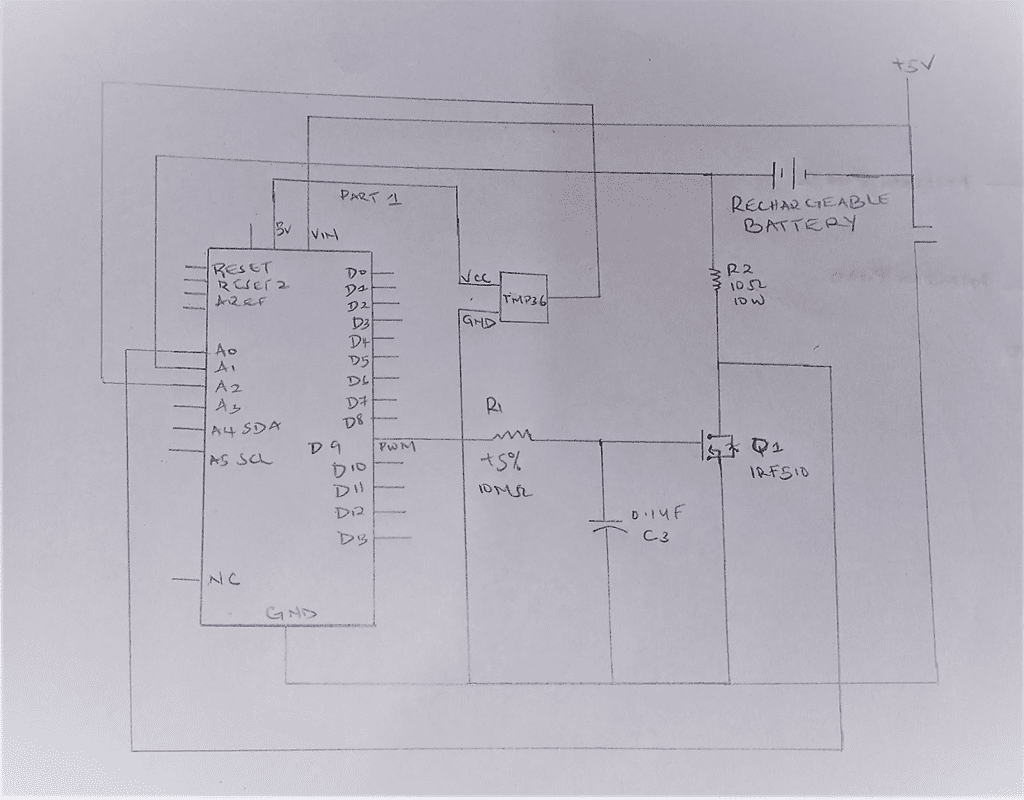
Circuit Explanation
The circuit is simple; it features a 5-volt regulated voltage source that delivers power to the battery and Arduino via a MOSFET and the 10Ω resistor.
The MOSFET is a critical component in the setup as it ensures the correct current enters the battery.
The resistor is also cardinal in the operation of the MOSFET.
Its role is to enable you to obtain the current output of the battery.
You can also obtain the voltage passing to the battery from the Arduino’s analog pins.
Also, from the connection, the MOSFET is connected to the Arduino’s PWM output pin, from which you can control its role in the circuit.
In addition, the circuit has a 1 µF capacitor and 1M resistor to control the pulse width modulation signal smoothness.
The two components ensure a smooth and steady voltage flows to the battery.
Check out the setup in the schematic below:

Monitoring the Battery Temperature

A thermometer.
The other critical component in this setup is the temperature sensor, whose primary role is to check the battery’s temperature. How does it operate?
The sensor gives a signal voltage directly proportional to your battery’s temperature.
This way, you can keep track of its temperature.
The ideal positioning of the component is on the backside of the battery casing in a way that it touches the battery.
Hence you may have to drill a hole in the case if absent.
Next, connect its three terminals to the Arduino Analog input pin, the GND, and the 5V supply pin.
Arduino Code
Upload the code below to your Arduino IDE:


Arduino Code Explanation
You cannot use this code as it is if you use a different battery capacity from the one we have included in the above code.
Nonetheless, it is simple to edit it as you only need to change aspects such as the battery capacity and your resistor’s resistance.
Other things you can change include the allowable battery voltage. In our setup, the value for this feature is 1.6 volts.
Also, as you can see from the code, we have set the maximum charge time and maximum battery temperature to 13 hours and 35 degrees Celsius, respectively.
Per the code above, the other critical thing we are monitoring is the voltage across the power resistor. Why?
When we keep track of the voltage, we can obtain the battery’s current and the terminal voltage.
In the case of our setup, we have a target current of C/10, against which we measure the current of the battery to know when it is full.
Lastly, on our code, there are lines for the serial monitor to display the current data of the setup continuously.
Summary
A battery charger like the one discussed above is an example of a simple Arduino battery charger project.
It is useful in charging a NiMH AA Battery, and as we said earlier, the setup for a different battery kind is different from this.
Nonetheless, this is a simple experiment you can try out as NiMH AA Batteries are readily available.
Thanks for reading to the end.