
Learning how to clear Arduino UNO memory is essential as it helps you improve the performance of the microcontroller board.
This provides a solution to memory-related issues.
This article will guide you on how to clear the Arduino UNO board and its three types of memory.
Table of Contents
- What is EEPROM?
- How Many Bytes Can Arduino Store?
- How to Reduce Arduino UNO Memory Usage?
- How to Clear Arduino Memory
- Other Ways to Clear the Memory of an Arduino UNO Board
- How to Clear a Sketch from Arduino Board
- Summary
What is EEPROM?
EEPROM is a long-term storage and non-volatile type of memory in Arduino UNO.
The other two are; Flash, which stores the sketch program, and RAM, which manipulates variables at runtime.
Electrically Erasable Programmable Read-Only Memory (EEPROM) is a storage space in each Arduino microcontroller.
You can store byte variables in it, which remains when the Arduino is turned off or reset.
EEPROM
Computers use the hard disk drive with functions as EEPROM only that it’s faster when reading and writing.
You can perform the following electronic actions to the EEPROM; read, write, interpret, and rewrite.
And this requires its library available in Arduino.
It handles 100,000 write/erases cycles for each position with limitless reads.
How Many Bytes Can Arduino Store?
EEPROM has locations restricted to only 8-bit numbers, like integers ranging between 0 to 255.
Your Arduino microcontroller model determines the number of bytes you can store.
The table below summarizes the models and storage space for each;
| Arduino Microcontroller Model | EEPROM Storage Size |
| Arduino Mega | 4096 byte |
| Arduino UNO, Nano, and Mini | 1024 bytes |
| Arduino Nano Atmega168 controller version | 512 bytes |
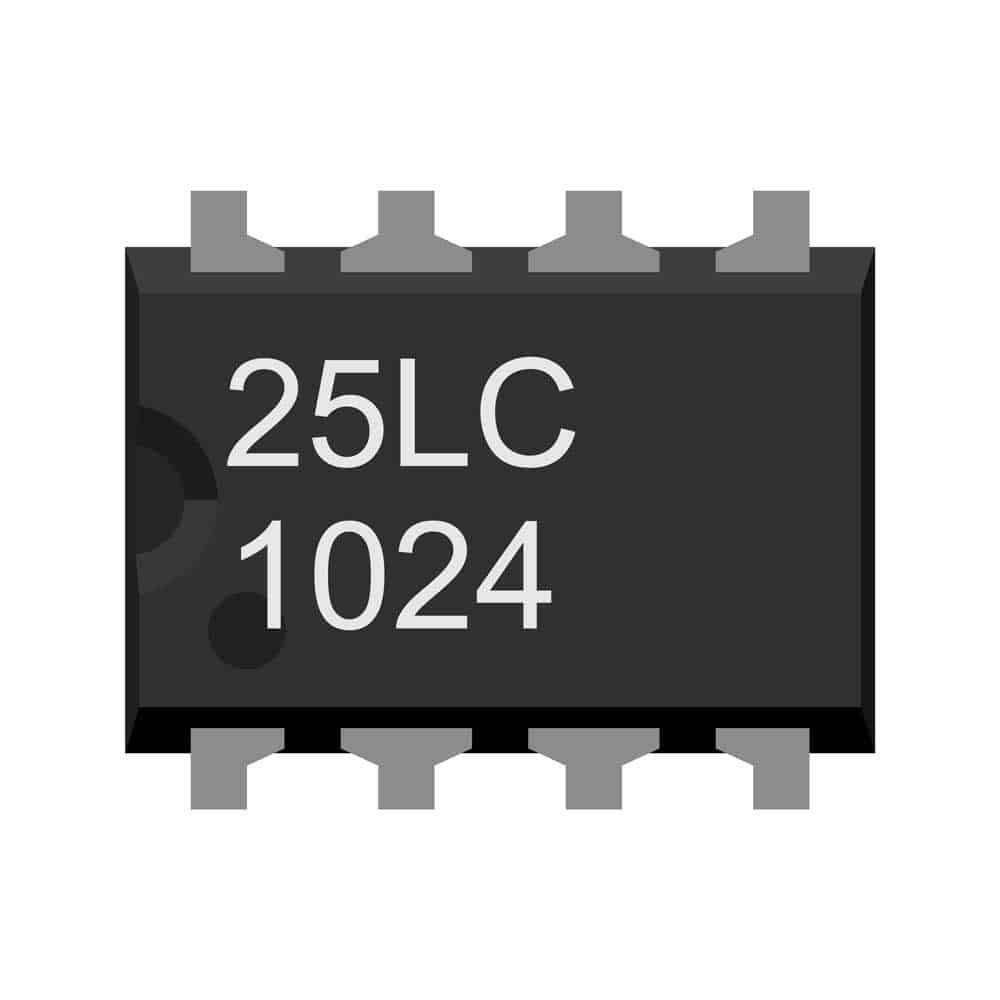
Extra memory is possible when you interface with an external EEPROM. It allows you to store more data.
You can always read more from the EEPROM without interfering with its longevity though it has a restricted lifespan.
How to Reduce Arduino UNO Memory Usage?
Arduino UNO offers a small quantity of Random-Access Memory (RAM) limited to 2KB.
Therefore, you must use code optimization techniques that consume less memory in your program.
The library of focus is ArduinoJson, used for serializing and deserializing JSON data in C++ programming language.
The tips below explain how to achieve using less storage space;
Use the actual type of String Literals
Duplication of stings makes it present twice in the RAM; you can avoid this by using the const char*: in your program.
Use const-reference instead of declaring functions that take a parameter of type String by value.
Declare Small Variables
You can achieve this by declaring variables as char instead of int when sure that the value will never exceed 127.
Example: use char value =56; and not int value = 56;
Define local variables
They are only available at the level of definition within the program.
You should avoid using global variables as they live during the whole execution life of the program.
It consumes RAM whether used by the program or not.
Pick on Stack Memory
StaticJsonBuffer saves on the RAM space as compared to the heap DynamicJsonBuffer.
Heap memory incurs overhead and fragmentation during allocation and deallocation.
You should always prefer stack to heap.
Use Zero-copy Mode When the Input is in Memory
This method will help you avoid duplicating strings from the input into the JsonDocument.
Let ArduinoJson Copy Stream Content to RAM
The volatile bytes source can be passed to deserializeJson() to ignore punctuations, spaces, and comments.
Use Deserialize JSON Document in Parts
When writing your program, utilize the feature of ArduinoJson of stopping whenever it encounters a closing brace }.
By this, you can parse only a part and repeat the operation, hence low RAM usage.
How to Clear Arduino Memory
To clear Arduino memory, opt for one of the options below and follow the steps explained;
Clear Your Arduino Memory by Connecting the RX and GND Pins
Here are the steps to achieve this:
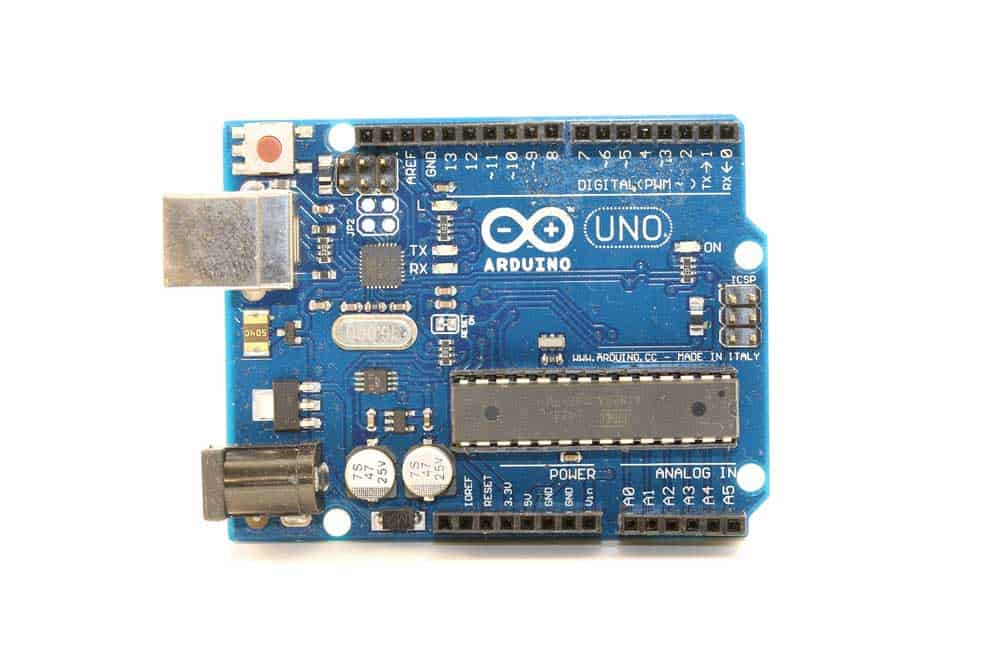
Step 1: Unplug the USB to switch off the Arduino and free the RX and TX responsible for serial communication.
Step 2: Using a jumper, you should join the GND and RX pins with a resistor of 10Kohm to 20Kohm between the pins.
It ensures that you do not exceed the current limit.
Step 3: Disconnect the RX pin and turn on your Arduino by plugging the USB into a power source.
Step 4: Access the Arduino Library using the IDE and upload the simple sketch or “Bare minimum.”
Step 5: Switch off the Arduino by unplugging the USB from the power source to ensure that you safely remove the PX pull-down.
Step 6: You should disconnect the RX and TX with the USB still disconnected.
Step 7: Connect your computer to the Arduino UNO board using the COM port.

Arduino UNO Board. Note the RX and GNDpin
Clear Your Arduino Memory Through an Empty Sketch Upload
You will not require a wire; instead, you upload an empty sketch.
Below is how you achieve it;
Step 1: Power off your Arduino by removing the power supply when the USB cable is removed.
Step 2: Navigate to the Device Manager by clicking and searching on the Windows key menu.
Step 3: Scroll until you find COM & LPT, where you can choose the COM port connecting the Arduino.
Step 4: You can edit the port setting by Switching the “Flow of Control” to “Hardware.” Upload the below sketch example to the IDE:

Step 5: Now power on your Arduino by connecting the USB cable.
Finish everything by uploading the “Bare Minimum” sketch using the “Ctrl+U” on your keyboard.
Other Ways to Clear the Memory of an Arduino UNO Board
You can also use the simplest method by pressing the red reset button.
Arduino Reset Button
1: First, Power off your Arduino
2: Long press the RESET button
3: Power on while still pressing it.
You are done.
How to Clear a Sketch from Arduino Board
Ensure you connect your computer to the board and open the Arduino IDE.
Use the Erase function.
The sketch should load when you power on the Arduino, and you will insert it into the Flash memory.
Load the blink program for the new circuit configuration to the board.
Summary
Arduino UNO microcontroller has three types of memory, Flash, RAM, and EEPROM.
You can increase the storage space of EEPROM, used for permanent storage, by interfacing it with the external one.
To efficiently reduce memory usage, follow the code optimization techniques above.
They will enable you to utilize the 2KB RAM available on Arduino UNO.
Apply only one option to clear Arduino memory for performance improvements.
Connect the RX and GND pins, create an empty sketch, or use the RESET button.
Following the above tips to “clear Arduino UNO memory.”