Home automatic outdoor lights and street lights are some projects you can create with an LDR Arduino system.
You have probably encountered lights that automatically switch on when it gets dark.
This control system is imperative when it is tedious or impossible to employ human resources to switch on the lights manually.
In our guide today, we’ll highlight how such a system works and list some of the other applications of the circuit.
Table of Contents
What is LDR?
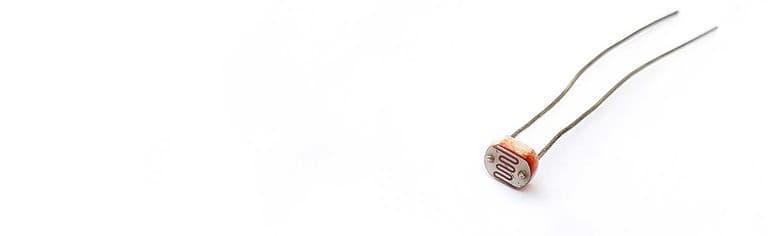
LDR is an acronym for a Light Dependent resistor.
Other common names for this resistor are:
- photocell
- photoresistor
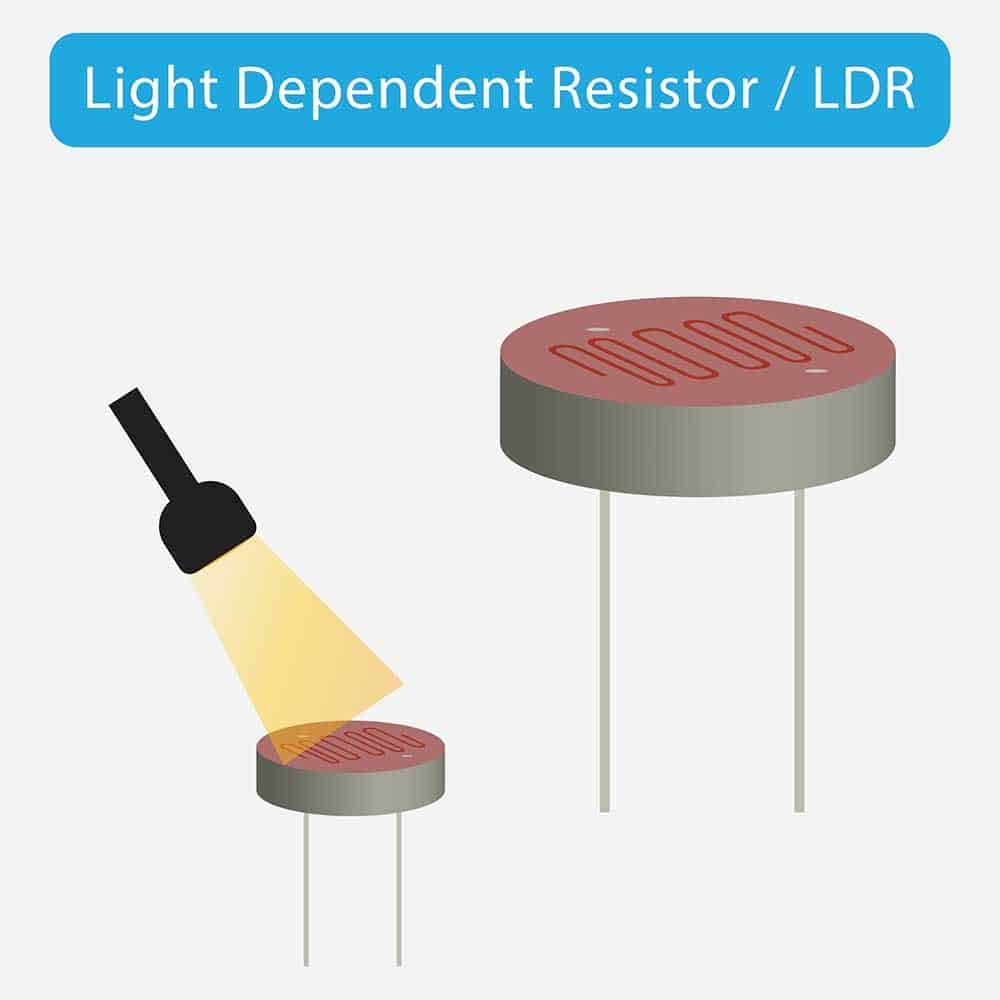
The special resistor is sensitive to light changes.
Therefore, when you shine a beam of light upon it, its resistance decreases, and the opposite happens in darkness.
This is the fundamental principle behind automatic security lights that utilize this component.
When in darkness, the photoresistor’s resistance can significantly increase to 4.5 Ω.
Thus, if you apply a constant voltage to the component, it will be accompanied by an increase in current flowing to the output device in line with the equation below:
V=IR where V is the voltage, I is the current, and R is the Resistance.
Consequently, the increased current will increase the intensity of the output device (A light bulb).
Again, this action mode is imperative in energy conservation as the bulb’s light intensity is directly proportional to the darkness level.
It ensures the bulb is at maximum light intensity during pitch-dark conditions.
LDR Specifications & Features
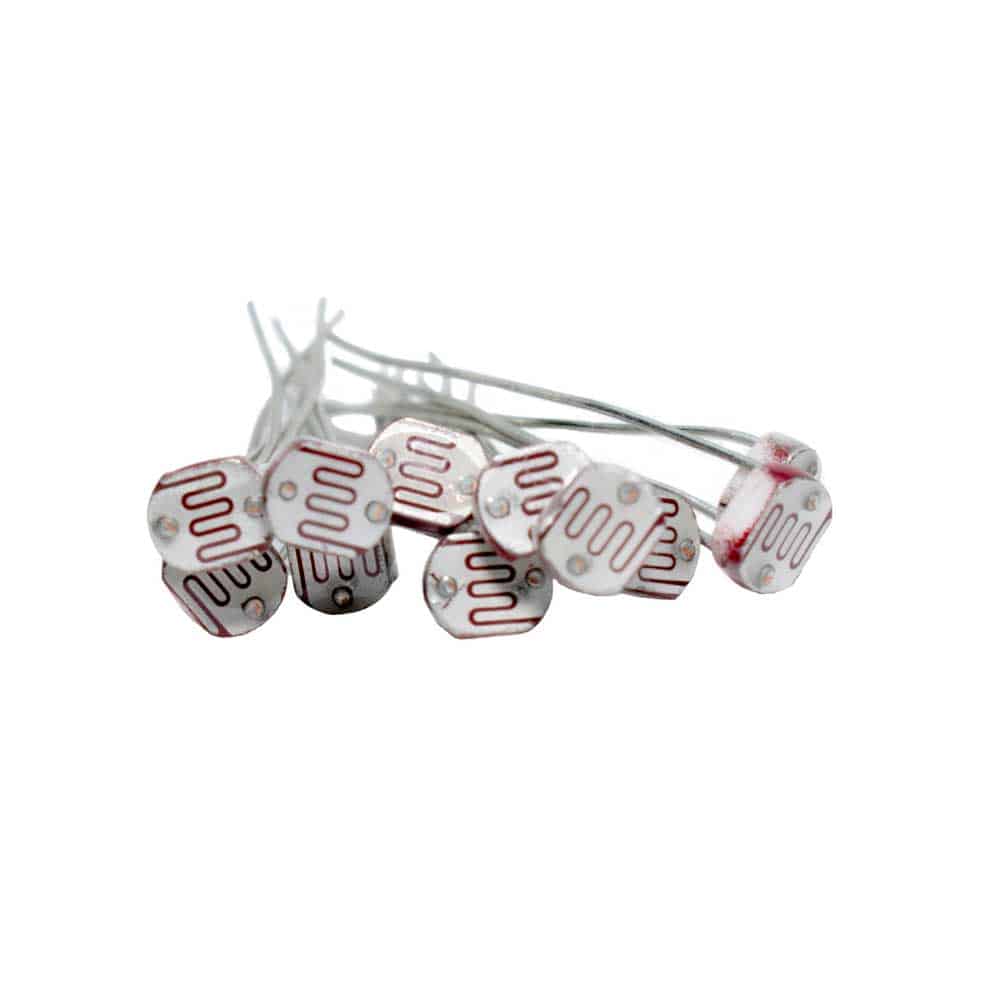
Several Light Dependent Resistors.
- The 100V AC or DC-rated component has a relatively wide ambient temperature range.
- It’s also cheap and features maximum and minimum resistances at 10 Lux of 1.8kΩ and 4.5kΩ, respectively.
- The current rating is 15mA, and a wide spectral response also characterizes the module.
- Its dark resistances after 1 and 5 seconds are 0.03MΩ and 0.25MΩ, respectively.
- Lastly, its operating temperature range is between -25°C and +75°C.
Arduino with LDR Project
A light-dependent resistor or LDR.
Here is a detailed guide on how to set up your Arduino LDR project.
Components Required
- Arduino Uno Board
- Jumper wires
- Breadboard
- 100K resistor
- LDR03
- LED or Light Bulb
- A Relay
Circuit Connections
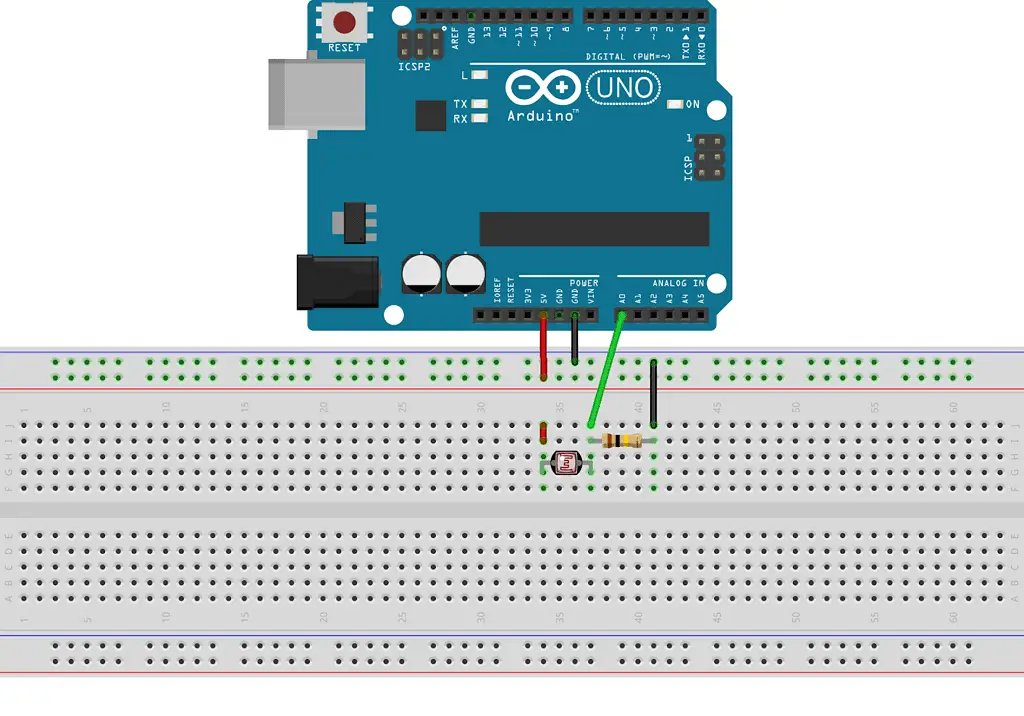
Circuit Explanation
The LDR outputs an analog voltage.
Therefore during connection, you attach one terminal to the Arduino’s analog input pin (Pin 0) and the other to the 5V terminal.
You also need to connect a 100K resistor, with one of its terminals on the analog input pin and the other on the Arduino’s ground pin (GND).
The Arduino features an inbuilt Analog to Digital converter (ADC) responsible for converting this voltage to a digital value.
Exposing your LDR to sufficient light will output digital values between 800-1023.
We’ll attach a relay to the setup and a light bulb in our next circuit to illustrate how to improve the circuit to perform actions such as lighting a bulb.
Run Code
After setting up your circuit as above, you must upload a control code.
Hence connect your Arduino board to your computer via a USB port to access the Arduino IDE.
Then launch the IDE and paste the code below.
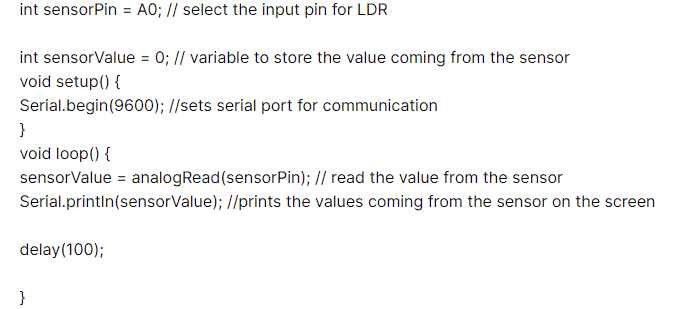
Next, you need to monitor the digital output value of your LDR.
Hence, check out the Serial monitor button on the IDE to launch a screen that gives the digital output values.
If the setup is functional, an effective way of testing is by covering the LDR with your hand and then checking if the reading is different from when you remove the hand.
Attach a Relay to Your Circuit
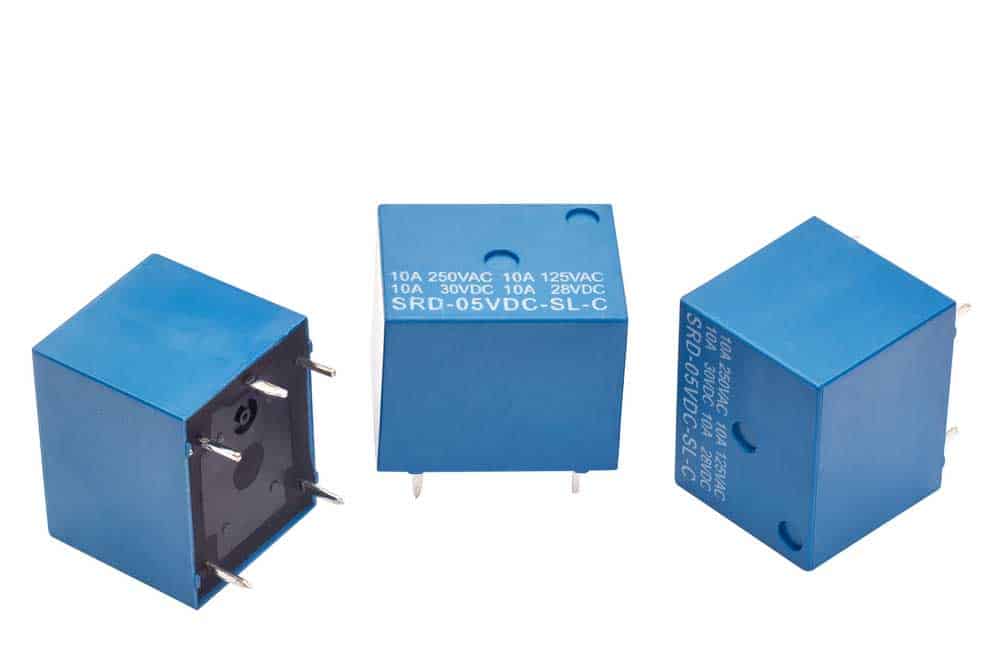
Small electromagnetic relays.
Next, we need to connect a light bulb to simulate the functioning of a real automatic street light.
But first, we must interface the Arduino with a relay before connecting the bulb.
In this setup, the relay is an electromagnetic switch; hence, it primarily switches on the bulb upon receipt of a particular digital value.
We’ll set up this value on our Arduino code.
Check out the table below for the connection of the relay to the Arduino board.
| Arduino Uno Board Pin | Relay Pin |
| GND | Pin 1 |
| Digital Pin 2 | Pin 2 |
Next, connect a light bulb to the Relay terminals to complete the circuit.
As a precaution, you must be careful when making the connections, especially given you’re dealing with a high power voltage.
Run Code
Now we need to run a second code to the IDE.
Hence, as mentioned above, launch IDE on your PC and run the code below.
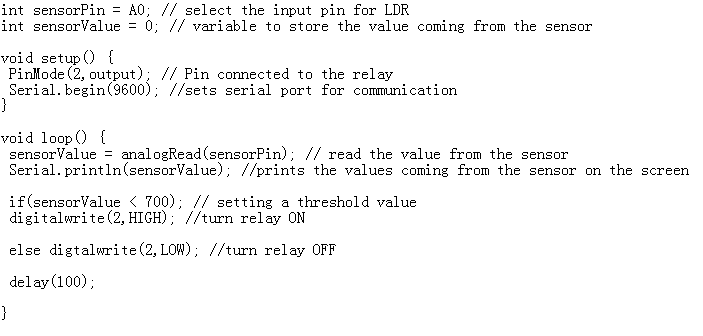
Note that in this code, the threshold digital output value is 700.
Nonetheless, you can set it to your desired value where you’d like the relay to switch your bulb on.
From our setup, the Arduino will prompt the relay to switch on the light bulb if the external light intensity exceeds the set value of 700.
The Arduino will turn off the bulb when this value exceeds the 700 light intensity threshold.
Application of LDR
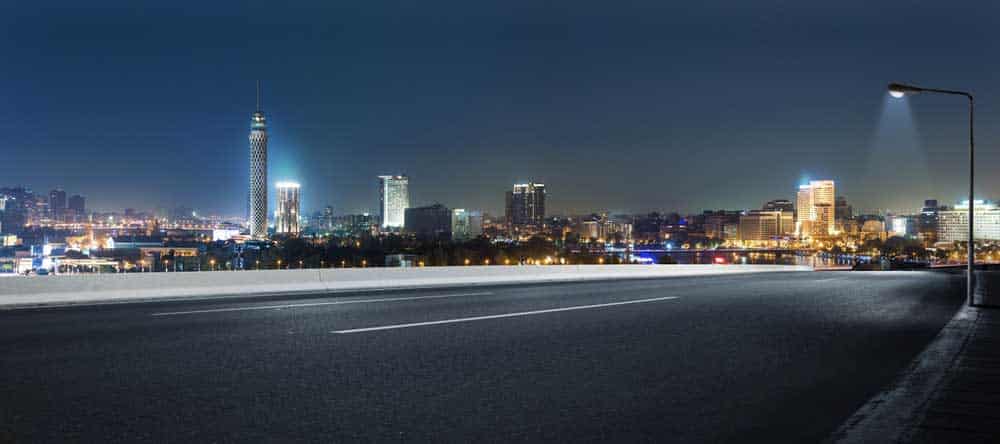
Street Lights at Night in Cairo, Egypt.
An LDR is essential in creating an automatic Street Light or outdoor home automation system.
Other Analog and Digital LDR applications are as follows.
Analog Application of LDR
- Exposure Control Camera
- Densitometric measurement
- In setting the toner density in photocopy machines
- Automatic Gain Control in modulated light sources
- Dual-cell Auto-Slide Focus
Digital Application of LDR
- Oil Burner Flame Out
- Automatic Headlight Dimmer
Summary
A photocell is one of the most versatile electronic components used in various projects, as highlighted in the above applications.
This guide illustrated building a simple automated light control using an Arduino board, LDR, relay, and bulb.
There are more projects you can undertake using the basic principles we have outlined here.
Have fun as you try out various LDR projects.