
Arduino clock speed is one of the critical factors to consider when buying this microcontroller board because it determines how fast the chip can handle instructions.
Typical Arduino boards run at 16MHz, but some have an 80MHz clock rate or higher.
We’ll look at the clock speed in Arduino and how to increase it/make it more precise for time-sensitive applications. Read on to learn more!
Table of Contents
- What Is Clock Speed?
- Comparison Between Arduino Speeds
- How To Make Arduino Boards Run Faster
- How Clocks Affect Precision Timing
- Pros and Cons of Fast Clock Speeds
- Wrap Up
What Is Clock Speed?
Clock speed refers to the number of instruction cycles a CPU can process each second. So it indicates how fast a processor can run.
Measured in GHz (gigahertz) or MHz (megahertz), typical Arduino boards have crystal oscillator or ceramic resonator clock sources that provide 16MHz clock rates.
16MHz is the equivalent of 16 million hertz, which means the microcontroller can run 16 million clock cycles each second.

An Arduino UNO board
Clock Speed in Arduino
In Arduino, clock speed shows how fast the board runs instructions in the microcontroller, which also helps synchronize the operations of all the connected peripheral devices.
So generally, the higher the clock speed, the shorter the time required to run instructions/commands.
But let’s consider the most popular Arduino board, the Arduino UNO.
The board comes with ATmega328p and ATmega16U2 microcontrollers, each with an internal clock that runs at 8MHz.
But the microcontrollers don’t use these clocks by default. Instead, they run on the faster external clock.
The ATmega328p handles logic processing and has a ceramic resonator as its clock source.
On the other hand, ATmega16U2 handles serial UART communication between the board and PCs, and it uses a crystal oscillator for clock control.
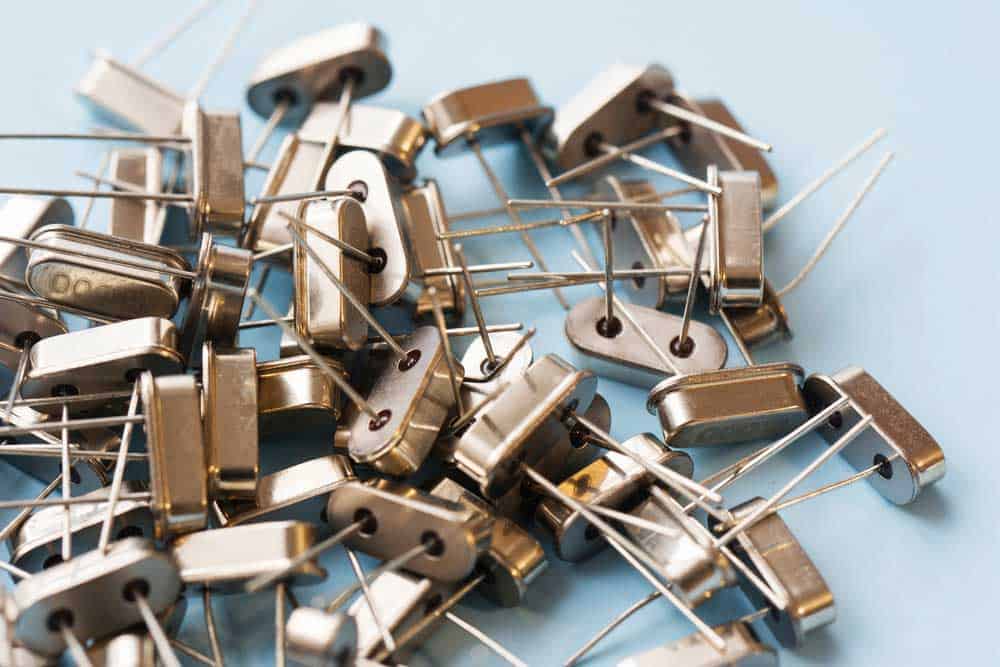
Crystal oscillators
According to the microcontroller datasheets, both can run at speeds of up to 20 MHz, provided they get a constant 4.5V input voltage.
So the boards have an external ceramic resonator and crystal oscillator to offer faster clock speeds than the 8MHz internal oscillator.
And it is possible to replace the external clocks with ones that run at higher clock rates or use another external 20MHz clock.
Comparison Between Arduino Speeds
The primary Arduino boards include the following.
| Arduino Board | Microcontroller | Clock Speed |
| UNO R3 | ATmega328P | 16 MHz |
| Arduino Leonardo | ATmega32U4 | 16 MHz |
| Micro | ATmega32U4 | 16 MHz |
| Arduino Mega 2560 R3 | ATmega2560 | 16 MHz |
| Arduino Nano | ATmega328 | 16 MHz |
| Arduino Ethernet | ATmega328 | 16 MHz |
| Arduino Yun R2 | ATmega32U4 | 16 MHz |
| Arduino Duemilanove | ATmega168 | 16 MHz |
| Arduino Diecimila | ATmega168 | 16 MHz |
| MKR Vidor 4000 | SAMD21 | 48 MHz |
| MKR Zero | SAMD21 | 48 MHz |
| MKR 1000 | SAMD21 | 48 MHz |
| MKR WAN 1310 | SAMD21 | 48 MHz |
| Nano 33 | nRF52840 | 64 MHz |
| Due | AT91SAM3X8E | 84 MHz |
| Portenta H7 | STM32H747XI | 480 MHz |
You can also consider the ESP32 and Teensy 4 microcontroller boards in the list above because they are compatible with the Arduino IDE. But they are not Arduino products.
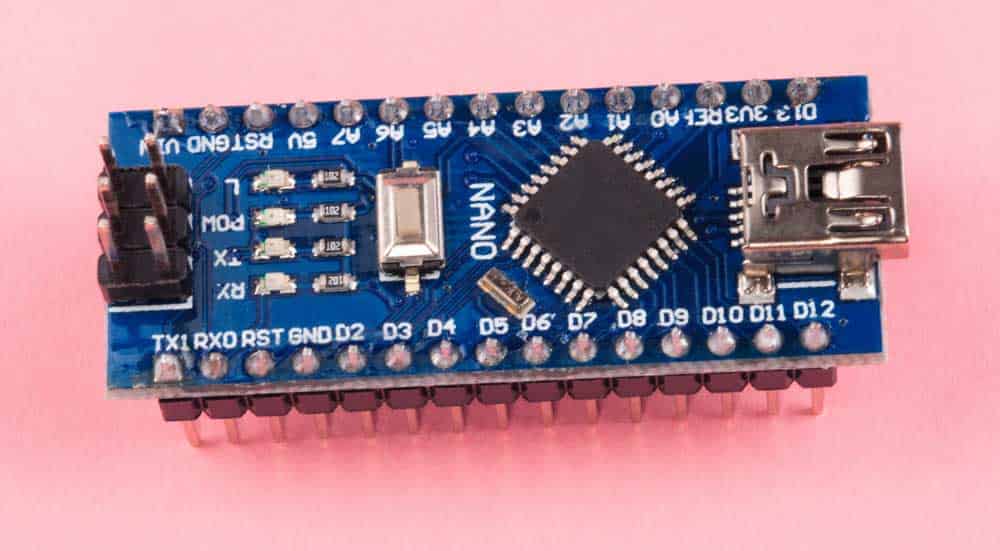
An Arduino Nano board
How To Make Arduino Boards Run Faster
We’ll use the ATmega328P microcontroller because it powers several Arduino boards at 16 MHz but can go up to 20 MHz.
Since it uses an external ceramic resonator clock, you can replace it with a 20 MHz oscillator.
Alternatively, you can build a custom Arduino-compatible board with a faster clock speed, then wire the ATmega328P into it.
If you want to replace the resonator, you’ll have to locate it first. It sits directly under the UNO R3 label or immediately above the ATmega328P chip on the Arduino UNO.
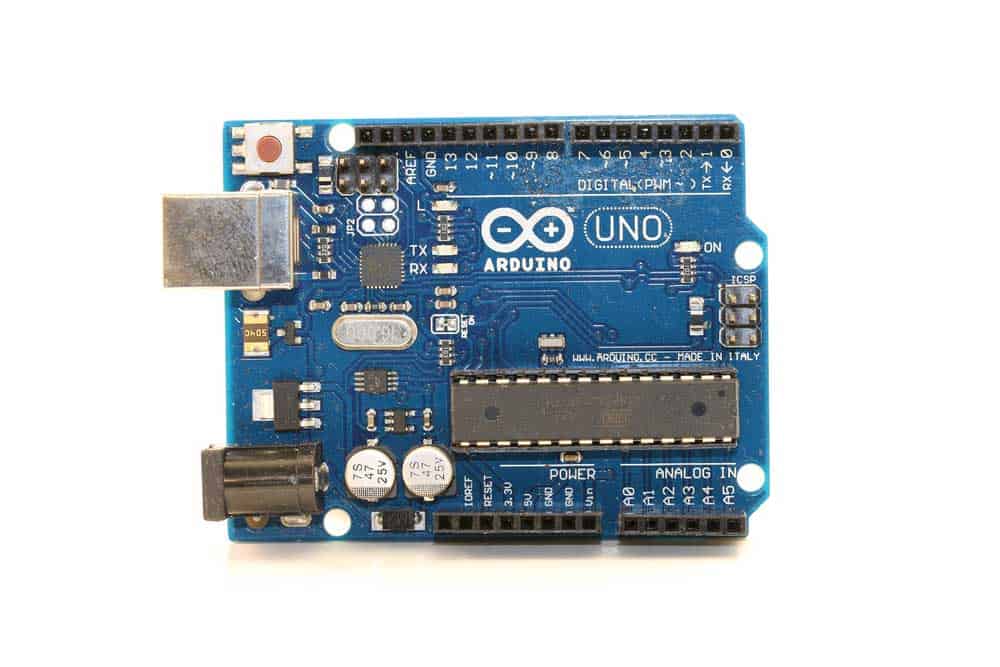
An Arduino UNO board (note the ceramic resonator directly above the ATmega328P chip)
The next step is to compile a bootloader to support the higher clock speed, then write code while considering the timing to match the increased clock speeds.
So after replacing the resonator, install MiniCore on the board, then select Tools>Board>ATmega328 on the Arduino IDE.
Next, select 328P/328PA under Tools>Variant, then pick “20 MHz external” under Tools>Clock.
After that, connect one ISP programmer to the board’s ICSP header or use a spare Arduino board if you don’t have a dedicated ISP programmer.
In such a case, use “Arduino as ISP.”
Lastly, go to Tools>Programmer to select the appropriate programmer, then select the “Burn Bootloader” option under the tools menu.
But it is worth noting that the additional clock frequency won’t add value to most applications/projects. It is only an extra 4MHz.
So the effort involved in making this adjustment might not be worth it.
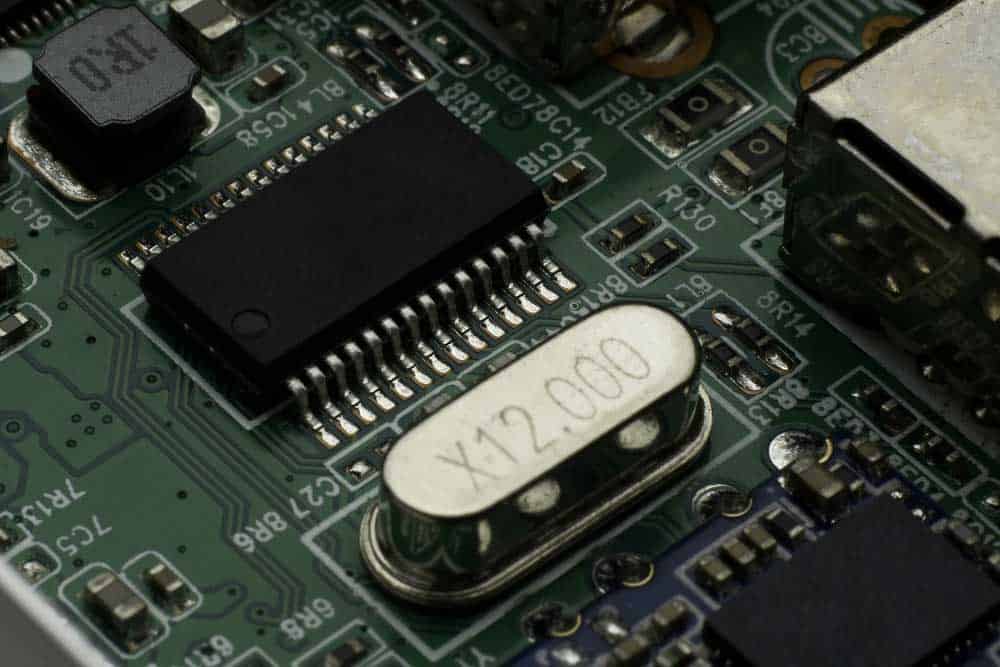
A crystal oscillator mounted close to a microchip on a PCB provides clock signals.
Instead, consider getting a faster microcontroller, such as the Arduino Due board, or optimize your code using techniques like functions or #defined over variables.
How Clocks Affect Precision Timing
As stated earlier, the ATmega328P uses an external ceramic resonator to derive its clock signals.
This electronic component produces a clock speed of 16 MHz with an accuracy of +/-5%, making it less precise than the crystal frequency from the oscillator.
The latter has a deviation of about 0.003%, making it incredibly accurate.
The ATmega328P uses the less precise resonator because its accuracy is sufficient to handle normal logic operations that cannot suffer from delays of about one second every 3+ minutes.

An Arduino UNO board (note the ATmega328P and crystal oscillator)
Each day has 24 hours (1440 minutes or 86,400 seconds), and a 5% deviation means a variation of 432 seconds.
So the clock might be off by up to 7 minutes 12 seconds daily, meaning it is not ideal for applications requiring precision timing or those that operate for extended periods.
In contrast, the crystal oscillator would only lose 2.592 seconds daily (0.003% of 86,400 seconds).
But it is impossible to use this clock for logic operations. You need other alternatives.
High Precision External Clock Sources for Arduino Microcontrollers
The ATmega16U2 needs a more precise crystal oscillator clock because accurate timing is vital when handling USB connector signals.
But the 328p can survive with the high inaccuracies of the resonator.
Additionally, the design saves on production costs because the vibrating load capacitors get built into the device.
But you can look into these options if you need higher clock speed accuracy for the logic operations.
RTC
An RTC (Real-Time Clock) module is an electronic device used to measure the passage of time.
The module is relatively affordable, and you can easily add it to an Arduino UNO or any board running the ATmega328p.
It is worth noting that some Arduino boards, such as the MKR Wi-Fi 1010, have an RTC built in, and they usually have a battery backup to keep the clock running if you lose power.
An RTC module
But adding the component to your board is a better option because it enables you to pick the specific RTC module you need without buying any extra/unneeded functionalities.
TTL Voltage Level Clock
Another alternative is to use an external TTL voltage-level clock.
But as per the microcontroller’s datasheet, you must change the fuse settings in the software component (using Arduino IDE) and hardware (with proper chip programming software) to use the external clock.
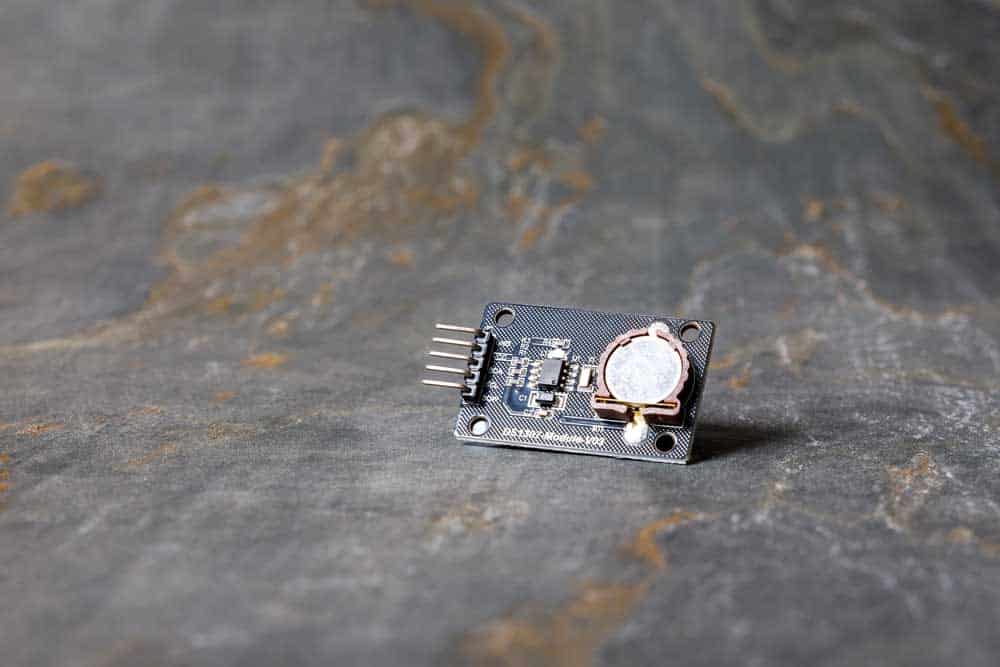
Other options include using a GPS module or Wi-Fi to keep the clock accurate at all times.
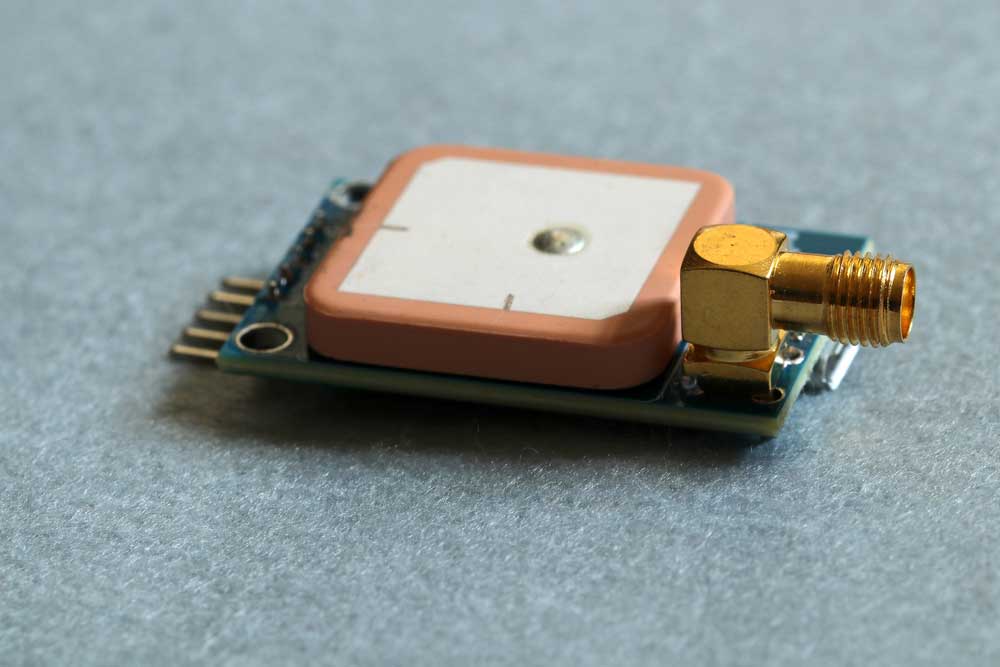
A GPS module
Pros and Cons of Fast Clock Speeds
Pros
- Quick instruction processing, resulting in faster handling of time-critical projects and more efficient multitasking
- Better handling of high-quality input samples when working on sound projects
- Faster processing when sensing inputs and creating outputs in video processing projects
Cons
- Microcontroller boards with higher processing speeds are more expensive
- Faster instruction processing consumes more power, which can be an issue if running the board using battery power, such as for IoT projects
- High CPU clock speed places more strain on the circuit, so you need more advanced electronic components to support the circuit design
Wrap Up
In conclusion, the higher the clock speed, the faster the board’s processing speed and the higher the cost.
Although other features might make a board costlier, the general trend is a proportional increase in price as the clock speed becomes faster.
And another critical factor to consider is precision. As you can see above, a clock’s type affects its accuracy.
So you should buy boards with RTC modules or add the component if you have a time-sensitive application or one that will run for a long time.