Looking for the best multimeter for Arduino projects?
Choosing the perfect one involves many factors, but we are here to assist!
In this article, we’ll reveal what constitutes a superb multimeter.
Whether you’re a beginner or an advanced user, you can trust this guidance for a valuable purchase.
Let’s dive in, as we have much to explore!
Selecting the Right Multimeter for Your Arduino Projects
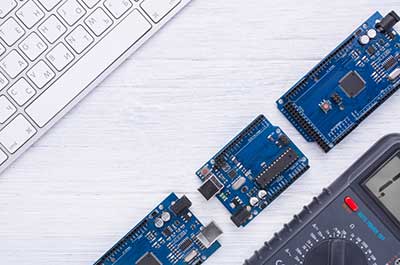
Consider at least three essential functions when you’re in the market for a multimeter for your Arduino Uno projects.
These functions include voltage, resistance, and continuity.
Whether you’re working with an Ultrasonic Sensor or a Servo Motor, different types of multimeters can make a difference.
If you have the budget, investing in a true RMS multimeter with capacitance and temperature measurement capabilities is worthwhile.
These features can prove quite valuable, and top-tier digital multimeters typically include them.
Next, assess the meter’s performance. Most multimeters, including analog multimeters, offer a range of +/- 2%, and you shouldn’t settle for anything less accurate.
While it’s advantageous to purchase a more precise multimeter if possible, a +/- 2% range is adequate for most tasks a home hobbyist will encounter.
Some examples of these tasks include checking input voltage, working with Gas sensors, or measuring actual voltage in electronic circuits.
Additionally, prioritize a high-quality LCD Display.
A large, easily readable, high-contrast display makes a significant difference when working on Arduino IDE or connecting jumper wires.
While working on an Arduino board, you’ll frequently glance at the screen peripherally.
A tiny, unclear screen can be frustrating, so don’t skimp on the display quality!
Finally, seek out an “auto-range” feature. Continually adjusting your multimeter’s range for each measurement can be a hassle.
It is especially true when working with different power sources or measuring voltage across a Power Supply.
Fortunately, it’s rare to find a multimeter that fulfills the previously mentioned criteria and features but lacks auto-ranging capabilities.
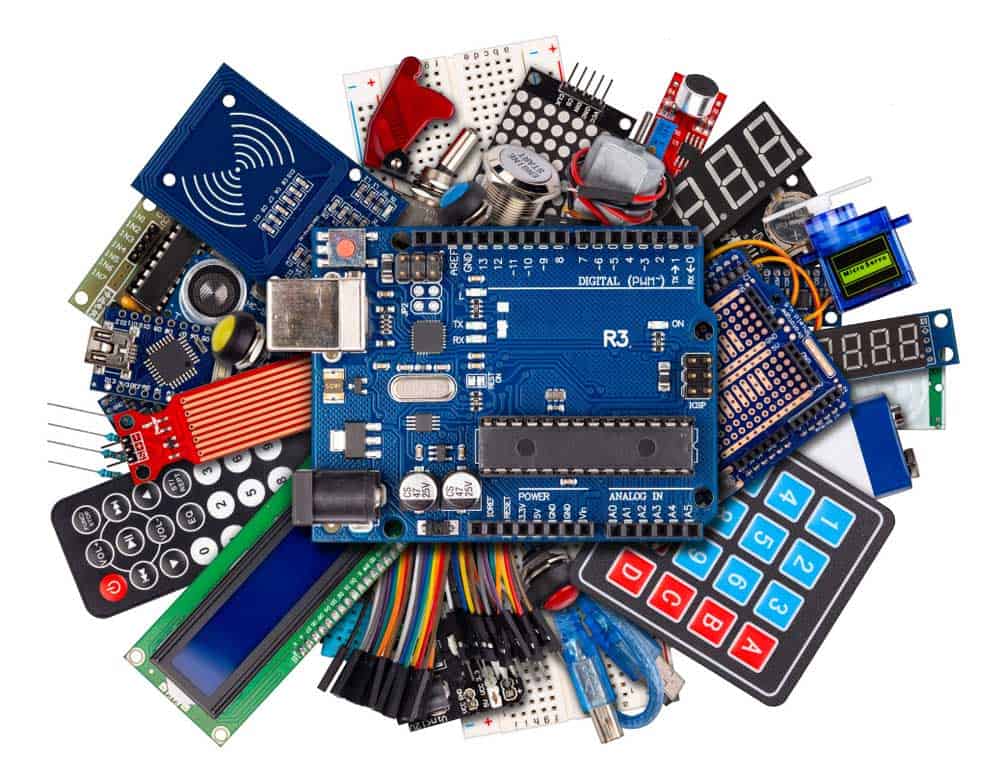
An Arduino UNO surrounded by sensors
Top Multimeters for Arduino Enthusiasts
Greenlee Autoranging DM-45 (Best Value)
Pros:
- Affordable Price at $61.99 compared to others
- Easy to read display durability, and accuracy
Cons:
- Less versatile compared to Fluk 117 and Klein Tools MM600
The Greenlee DM-45 auto-ranging multimeter offers great value at a reasonable price.
It has decent specs, and Greenlee is a US-based company with domestic factories, so you will easily get support if something doesn’t work properly.
Fluke 117 (Best Specs)
Pros:
- Non-contact AC voltage detection with VoltAlert technology
- True RMS for accurate measurements on non-linear loads
Cons:
- Most expensive option on the list
The Fluke 117 is a true RMS multimeter with strict accuracy standards.
Although it’s pricey at around £200, it’s one of the most accurate meters without breaking the bank.

Digital multimeter for determining
Klein Tools MM600 (Good Value)
Pros:
- Measures a wide range of parameters, including temperature and capacitance
- CAT IV 600 / CAT III 1000V safety rating
Cons:
- Less affordable than Greenlee DM-45 and Triplett 9007-A
Many people keep this multimeter in their cars or use it as their primary meter.
It’s a solid Greenlee DM-45 alternative, available at big box stores, reasonably priced, and feature-rich.
Triplett 9007-A (Best Price)
Pros:
- Lowest list price
- 32 measurement ranges, including temperature, frequency, and capacitance
Cons:
- Lower customer ratings compared to other options
The Triplett 9007-A digital multimeter is our final top pick.
It is ideal for those on a budget and offers reliable performance without impressive specs.
Its selling point is affordability, sometimes for as low as $55 during holidays.
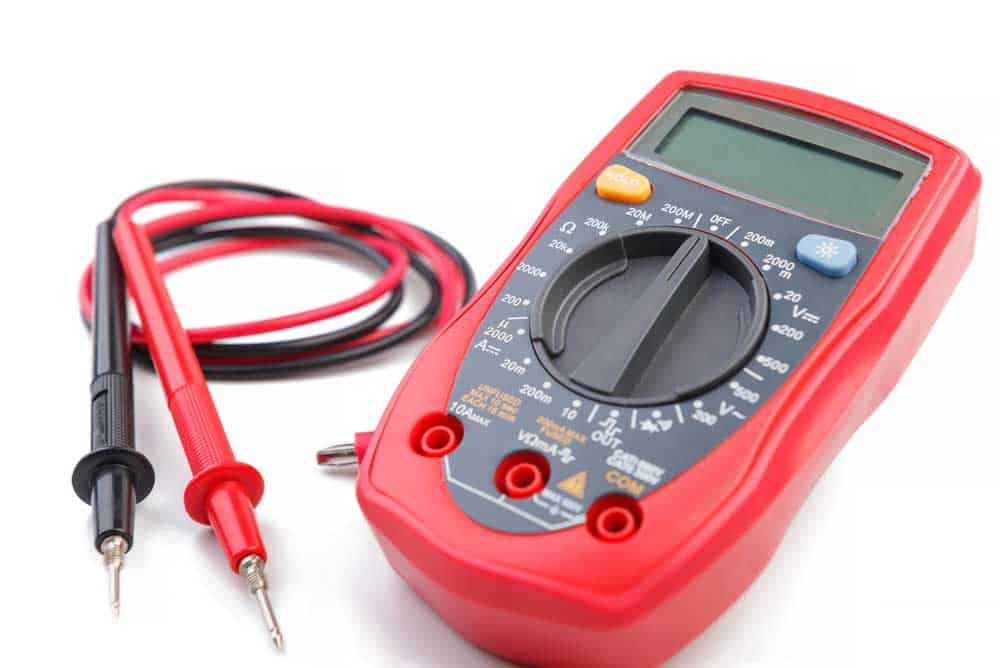
Electronic digital multimeter
The Basics of Using a Multimeter
Assessing DC Voltage
To properly use a voltmeter for voltage measurement, ensure correct setup.
Begin with cables, placing the black wire into the COM jack.
Then, insert the red probe into the voltage jack, avoiding the AMPS plug.
Using the wrong jack may damage the meter or blow a fuse.
For example, to measure the voltage of a 9V Battery:
Position the dial to “DC,” denoted by a V and a solid line over a dashed one.
Then, touch the black probe to the battery’s GND (-) terminal, and connect the red probe to the battery’s positive (+) terminal.
Verify the battery’s voltage; a fully charged 9-volt battery displays about 9 volts.
A multimeter in parallel can help you diagnose dead batteries or identify the negative terminal.
Reverse the wires: red probe on negative, black on positive.
In this case, the multimeter shows a negative number.
Generally, reversing probes is safe and won’t harm your meter or device.
It’s useful for determining polarity when terminals aren’t marked.
Evaluating AC Voltage
Choose the AC voltage setting on the dial, typically marked with a V. Attach the red lead to the Voltage input, as done for DC voltage.
Position the probes at the desired location for AC voltage measurement.
Safely insert the wires into a standard AC wall outlet at home.
Avoid touching the metal probe parts or causing a short circuit. In North America, expect a reading close to 120 volts.

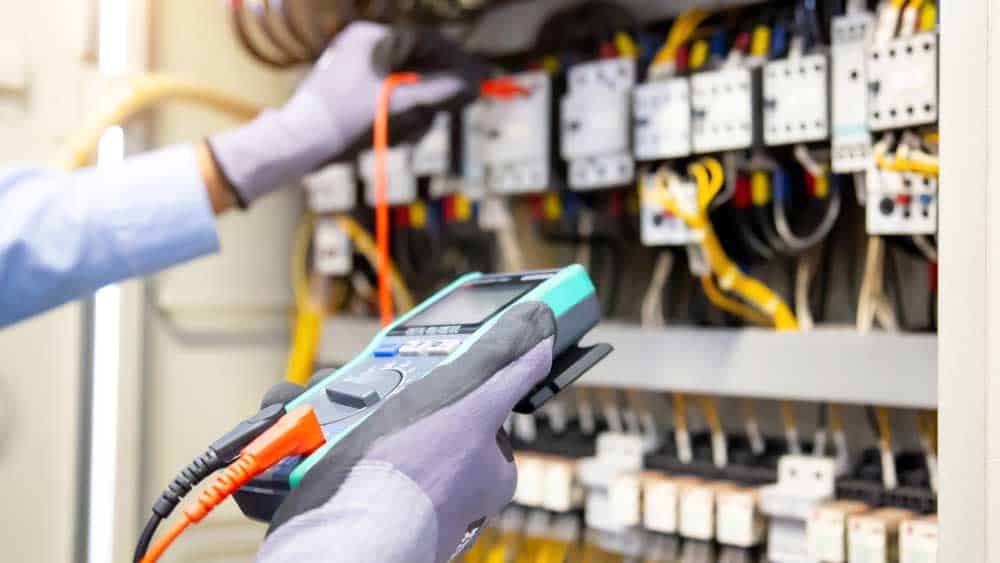
An electrician using a digital multimeter to measure AC voltage
Gauging Resistance
Most multimeters have identical voltage and resistance jacks.
If yours has a distinct resistance jack, ensure the red lead is in the ohms jack and adjust the dial to the resistance setting.
The setting will resemble the “Ohm” symbol.
Resistance lacks polarity, so you may touch any lead to either end of the circuit, resistor, or component for measurement.
The screen will display the resistance value in ohms.
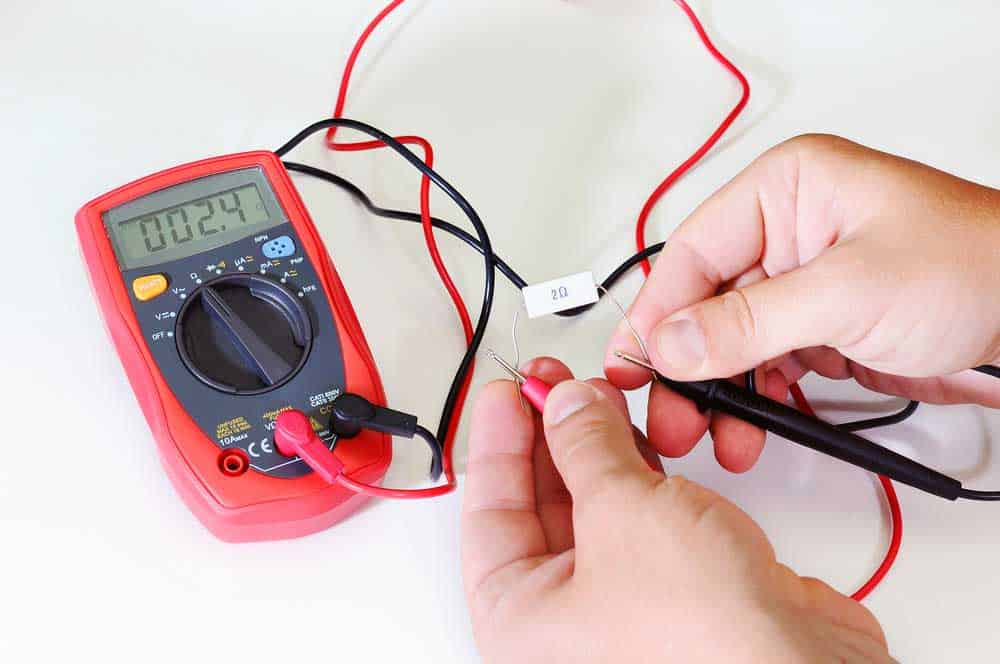
Using a digital multimeter to measure resistance
Examining Circuit Continuity
Circuit continuity ensures good communication between any two points.
As mentioned, voltage and resistance measurements typically share the same jack with continuity.
Insert the red lead into the jack for continuity testing, and switch your multimeter to the continuity mode.
The continuity symbol resembles a diode.
To test the continuity function, touch the probes together.
This action causes the multimeter to emit a beep, indicating a strong connection.
The beeping confirms the connection is good.
The continuity function detects broken cables or damaged traces on circuit boards.
It’s a valuable diagnostic tool that home hobbyists use with multimeters.
Gauging Current
Moving the red lead to the AMPS port to assess the current with most multimeters. Typically, there are two ports.
One manages up to 10 amps, while the other handles 400 milliamps max. You’ll likely start with the 10-amp port.
Switch to the other port for measurements under 400 mA needing more precision.
Some devices require the dial set to mA.
After setting the dial to amps or milliamps, measure the current.
This process is trickier than other measurements.
Probes can’t simply touch terminals for readings.
The multimeter must connect to the circuit, allowing current flow.
And this may involve cutting and splicing a wire into the multimeter.
Electrical engineer using a digital multimeter to measure electric current
Summary
Ultimately, choosing the ideal multimeter for Arduino projects can be challenging.
Numerous features and options may confuse, leading to poor choices.
However, you can make a well-informed decision by considering your project type, budget, and user-friendly elements like a clear display and safety features.