Making an Arduino buzzer is one of the most common college projects.
Also, one of the ways to test an Arduino code is by connecting a sound output device to the system.
In our presentation, we’ll highlight the setup process of this simple project and further shed light on the workings of an Arduino buzzer. Take a look.
Table of Contents
- What is Buzzer in Arduino
- How does the Arduino Buzzer Work?
- How to Use the Arduino Active Buzzer
- How to Use the Arduino Passive Buzzer
- Arduino Buzzer FAQs
- Summary
What is Buzzer in Arduino

A buzzer speaker.
As its name suggests, this device yields a beeping sound when you pass an electric signal.
You can control the kind of sound signals the device produces by modulating the frequency of the electric signal (for passive buzzers).
In most cases, the sound wave devices are common as beepers in scenarios where such extraneous sound is necessary.
For instance, you’ll likely encounter buzzers in timers, personalized advertisement media, and security devices.
Different types of buzzers also exist, each producing a unique signal sound. Examples include:
- Piezoelectric buzzers
- Mechanical buzzers
- Electromechanical buzzers
Today’s article will discuss the piezoelectric buzzer, the common type we use with Arduino General Electronics.
How does the Arduino Buzzer Work?
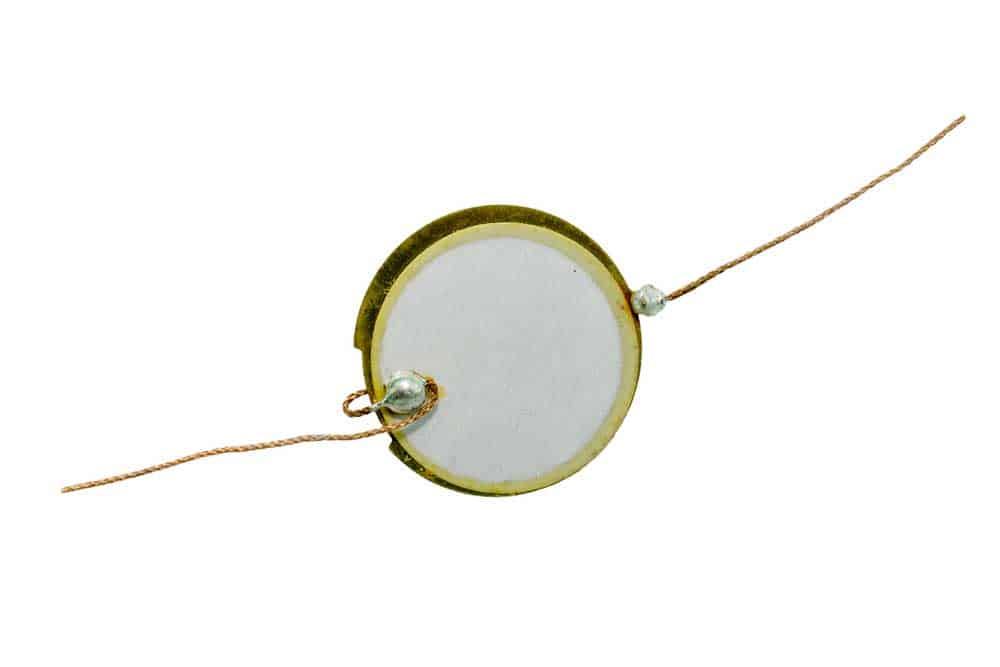
A paper-type buzzer speaker.
An Arduino Buzzer has two pins: The positive pin and the negative pin.
Here’s a simple procedure to set up the buzzer:
- Connect the Arduino GND pin to the buzzer’s negative terminal and the Arduino’s power supply pin to the buzzer’s positive terminal.
- Next, apply a square wave signal to the buzzer’s positive terminal to produce a sound signal.
Notably, when you vary the frequency of the square wave incoming signal, you also vary the piezo buzzer’s tone.
How to Use the Arduino Active Buzzer
Below is a simple explanation of creating an Arduino active buzzer using easy-to-assemble accessories.
Parts Needed
- An Active Buzzer
- A breadboard and jumper wires
- Arduino Nano or Uno
- A tactile push button
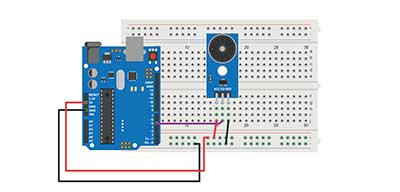
Circuit Connection
Arduino active buzzer circuit diagram
- Connect the positive buzzer pin to pin 8 of the Arduino board and the negative pin to the Arduino’s GND pin.
- Now connect one end of the jumper wire to the Arduino Uno GND pin and the other to the tactile push button on the breadboard. Also, to complete the circuit, connect pin7 of the Arduino board to the other terminal of the push button.
- Next, upload this code to the Arduino IDE and run it.

Active Buzzer Operation Principle
Simple Arduino projects involve an LED as the output, and this active buzzer is similar in principle.
Primarily, this is because, like a LED blinker circuit, this buzzer will give a beeping sound immediately after you complete the connections.
Therefore, running a current by clicking the tactile push button will prompt the buzzer to produce a sound signal.
How to Use the Arduino Passive Buzzer
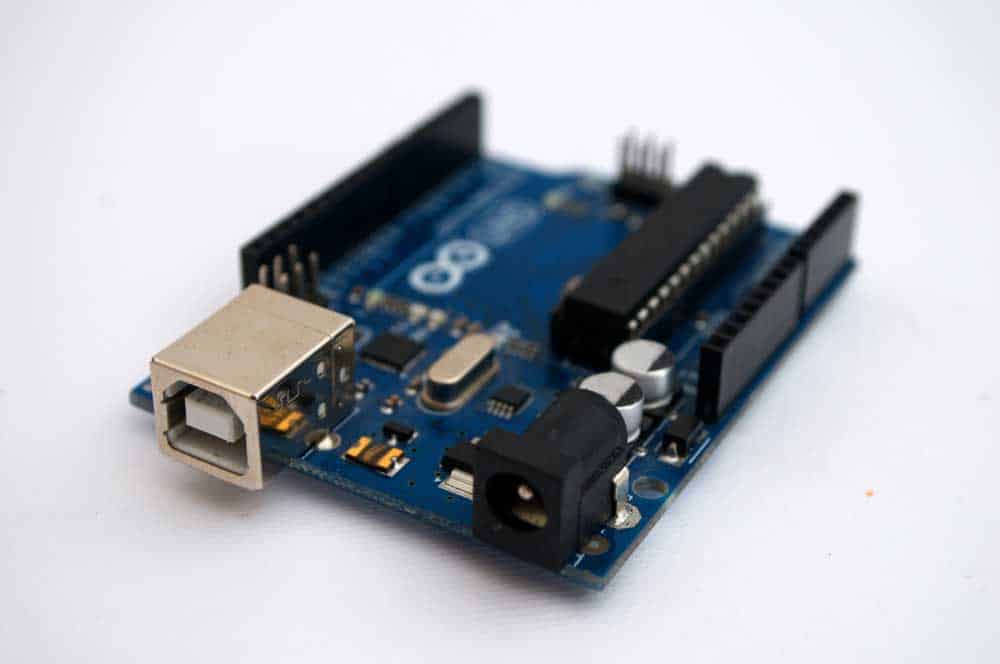
An Arduino Board.
An active buzzer produces a monotone sound. But with a passive buzzer, you can create a muffled sound and other tonal variations.
Primarily this is because the latter applies a square wave functionality (which can change the frequency) to make the sound.
This feature on Arduino allows you to produce square waves of varying signals to suit your desired sound output.
Parts Needed
- A Passive Buzzer
- An Arduino interfacing mode (Arduino Uno or Nano)
- Jumper Wires
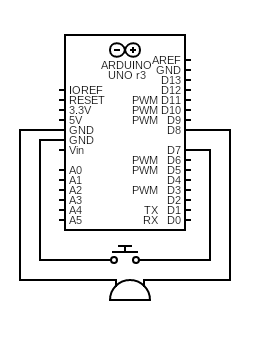
Circuit Connection and Explanation
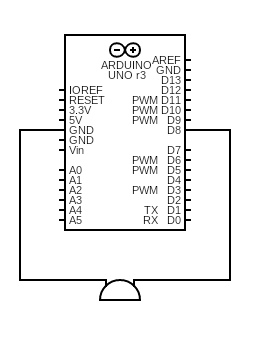
Arduino passive buzzer circuit diagram
The connection is more straightforward than the circuit for the active buzzer; in this case, you don’t need a breadboard.
Simply connect the passive buzzer’s positive pin to pin 8 of your Arduino board. Next, connect the negative terminal to Arduino’s GND pin.
Load the program below to the Arduino.

Now to vary the sound output, you need to tinker with the code above by replacing the ‘setup()’ part with ‘tone().’
Also, you can set up the delay between the different tones by introducing the ‘delay()’ function.
In our code above, the buzzer has a delay of 1,000 milliseconds, but you can always replace it with your desired duration.
Lastly, the code also features a ‘noTone()’ function, which sets up the period when the buzzer doesn’t yield any sound output.
After it, we have a delay, after which the loop play resumes.
Arduino Buzzer FAQs
How to make Arduino Beep?
After the Arduino joins process, you must run the appropriate code to prompt buzzing.
Above we have explained the connection process for the active and passive buzzers.
Hence, make the connections, and for a basic beeping, enter the respective codes we’ve provided above.
What is the difference between Active and Passive Buzzers?
An active buzzer features an oscillating element that yields sound after passing an electric signal. Nonetheless, it only produces a sound of a singular tone.
The only way to control how its output is via switching it on or off.
Also, notably, this type of buzzer can work on an external DC voltage supply.
Hence, you can power it from a typical battery, depending on its power specifications.
Conversely, a passive buzzer is primarily an electromagnetic speaker capable of yielding sounds of varying tones.
The output relies on the frequency of the square wave you feed.
Primarily, you need a signal source to run a passive buzzer; in this case, you can use an Arduino interfacing board.
Either Arduino nano or Uno will do, depending on what is available.
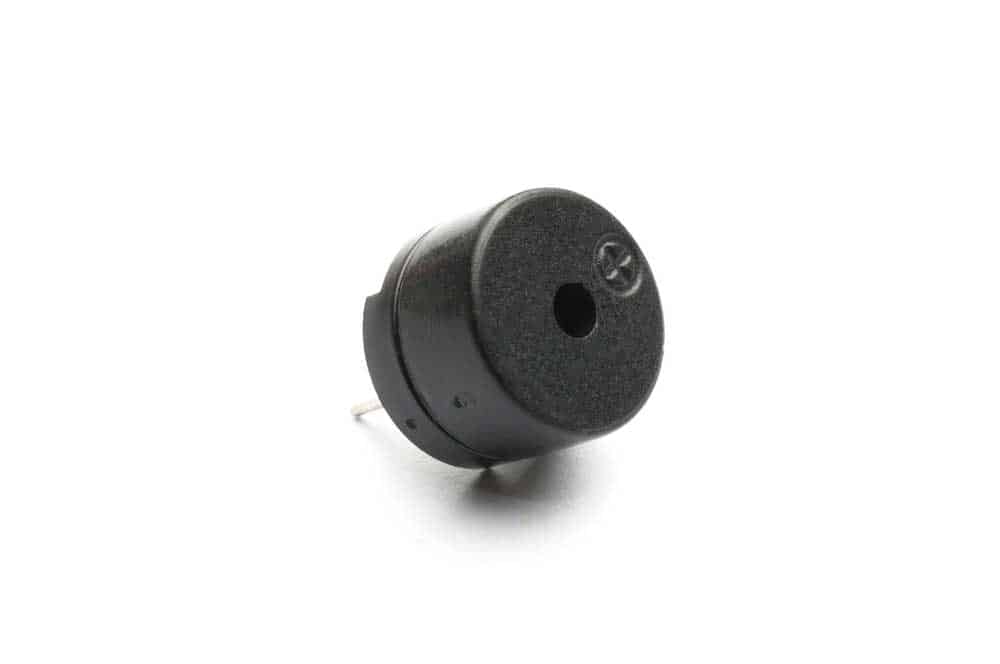
Electronic piezo buzzer
Is a buzzer a sensor?
We cannot regard a board piezo buzzer as a sensor; in principle, it is similar to a digital output device that responds according to your feed signal.
Hence, its functionality is limited to yielding sounds but cannot sense motion or any feature we associate with sensors.
Summary
You can set up a grove buzzer using an Arduino board and a few jumper wires. In this case, the buzzer tone generation command source is the Arduino board.
Also, you can create different sound tones by varying the frequency range of the inputs.
Lastly, with a passive buzzer, you can set up different note durations by editing the Arduino code we introduced earlier in the article.